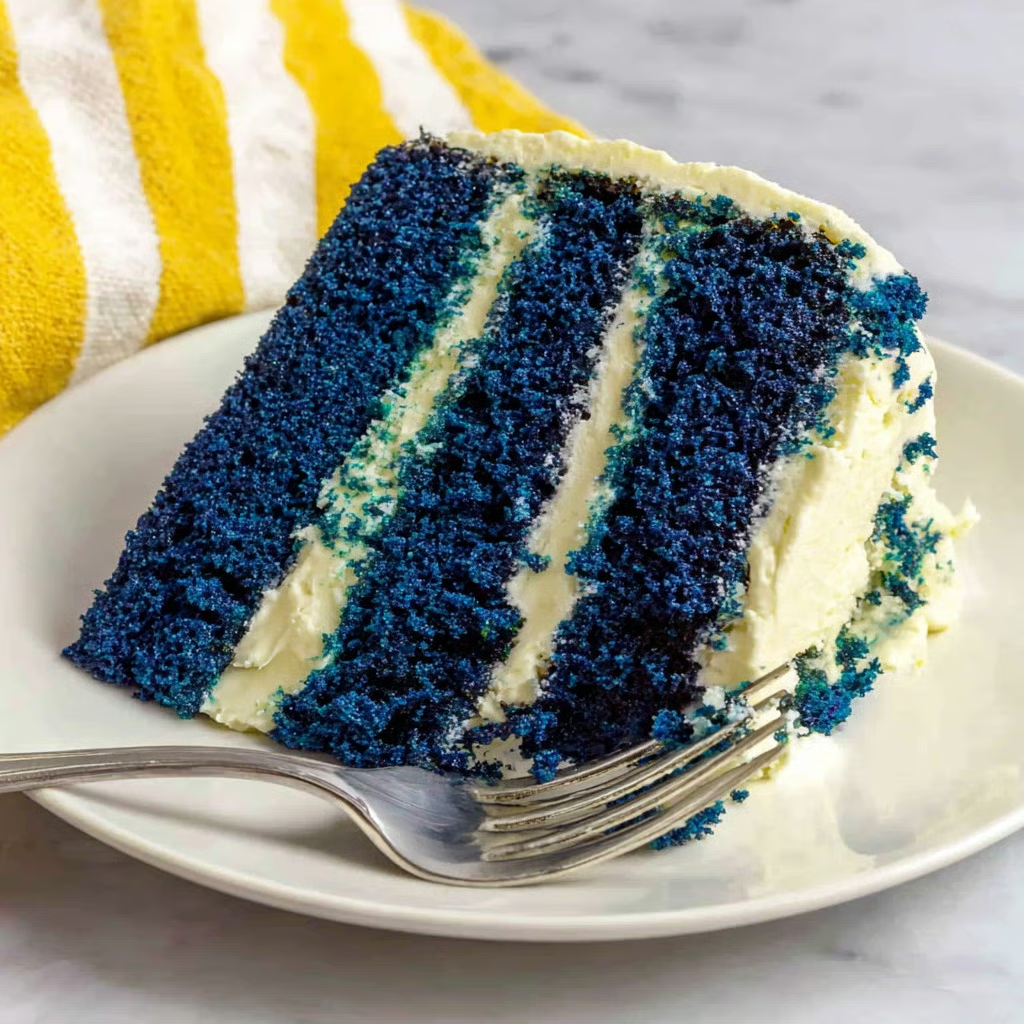
Blue Velvet Vanilla Pound Cake
Ingredients
- All-purpose flour: providing structure and body for a soft tender crumb when measured carefully at two and one quarter cups
- Baking powder: acting as a leavening agent to help the cake rise evenly and stay light at one and a half teaspoons
- Salt: enhancing overall flavor and balancing sweetness with a quarter teaspoon
- Unsalted butter: softened for creaming one cup approximately two hundred twenty five grams making the cake moist with rich buttery flavor
- Sugar: one and a half cups granulated adding sweetness and tenderness plus contributing to the golden crust
- Large eggs: three room-temperature eggs binding ingredients adding moisture and richness
- Vanilla extract: two teaspoons for a warm classic vanilla aroma enhancing the overall flavor
- Milk: half a cup adding moisture and balancing the batter for a tender result
- Blue gel food coloring: adding vibrant blue color without thinning the batter adjust for desired shade
- Optional powdered sugar: for a light decorative dusting adding subtle sweetness at serving
- Optional vanilla glaze: for a drizzle to amplify vanilla flavor and add a delicate finish
Step-by-Step Instructions
- Preheat Oven and Prepare Pan:
- Set your oven to one hundred seventy five degrees Celsius approximately three hundred fifty degrees Fahrenheit. Grease a loaf pan thoroughly with butter or non-stick spray then lightly flour it or line it with parchment paper. Proper preparation prevents sticking and helps the cake release easily.
- Combine Dry Ingredients:
- In a medium bowl whisk together the flour baking powder and salt. This distributes the leavening and salt evenly ensuring consistent texture throughout the cake.
- Cream Butter and Sugar:
- In a large bowl beat softened butter and sugar with an electric mixer for three to four minutes until pale and fluffy. This incorporates air which gives the finished cake a lighter and tender crumb.
- Add Eggs and Vanilla:
- Add the eggs one at a time mixing well after each addition to incorporate fully and achieve a smooth texture. Stir in vanilla extract to infuse the batter with its signature flavor.
- Incorporate Blue Coloring and Milk:
- Slowly add the blue gel food coloring stirring until you reach your desired shade. Then pour in the milk and mix gently until the batter is smooth and evenly colored creating the signature blue velvet appearance.
- Combine Wet and Dry Ingredients:
- Gradually add the dry mixture to the wet ingredients folding gently until just combined. Avoid overmixing here or the crumb might become tough.
- Transfer and Bake:
- Pour the batter into the prepared loaf pan smoothing the surface with a spatula. Bake for fifty to sixty minutes or until a toothpick inserted into the center comes out clean. This ensures the cake is fully cooked but still moist inside.
- Cool and Serve:
- Let the cake cool in the pan for ten to fifteen minutes before transferring it to a wire rack to cool completely. Optionally dust with powdered sugar or drizzle with vanilla glaze for extra appeal.
Storage Tips
Store this pound cake covered at room temperature for up to three days to keep moisture intact. If you want to keep it longer wrap slices tightly and freeze for up to one month. Thaw before serving for best texture.

Ingredient Substitutions
You can substitute milk with buttermilk for a subtle tang and even more tenderness. If you prefer a different color you can swap the blue gel food coloring for another gel shade but adjust the amount as gel colors vary in intensity.
Serving Suggestions
Serve the cake with a handful of fresh berries or a dollop of whipped cream for a lovely textural contrast. It also pairs beautifully with a steaming cup of tea or freshly brewed coffee to round out the flavors.
Cultural Context
The pound cake’s roots trace back to traditional recipes relying on equal weights of butter sugar eggs and flour. This modern take adds the whimsical blue velvet twist making it popular at celebrations, blending classic baking with vibrant visual appeal.
Ingredients
→ Dry Ingredients
→ Wet Ingredients
→ Optional Toppings
Steps
Preheat oven to 350°F. Grease a 9×5-inch loaf pan thoroughly, then flour it lightly or line with parchment paper to prevent sticking.

Whisk together all-purpose flour, baking powder, and salt in a medium bowl until evenly mixed.
Using a mixer, beat softened butter with granulated sugar in a large bowl for 3 to 4 minutes until the mixture is pale and fluffy.
Add eggs one at a time to the creamed butter and sugar, mixing well after each addition. Stir in vanilla extract to flavor the batter.
Slowly blend in blue gel food coloring until the desired shade is reached, then mix in the milk until the batter is smooth and consistently colored.
Gradually add dry ingredients to the wet batter, folding gently until just combined to avoid developing gluten and toughening the crumb.

Pour batter into prepared loaf pan and smooth the top. Bake for 50 to 60 minutes, or until a toothpick inserted in the center comes out clean.
Let the cake cool in the pan for 10 to 15 minutes, then transfer to a wire rack to cool completely. Optionally dust with powdered sugar or drizzle vanilla glaze before serving.
Tips
- Use gel food coloring for vibrant color without thinning the batter. Room temperature ingredients ensure better mixing and texture.
Required Tools
- 9×5-inch loaf pan
- Electric mixer
- Mixing bowls
- Toothpick for doneness testing
Allergy Information
Always check each ingredient for allergens, and consult a medical professional if unsure.
- Contains eggs, dairy, and gluten